
March 20, 2024
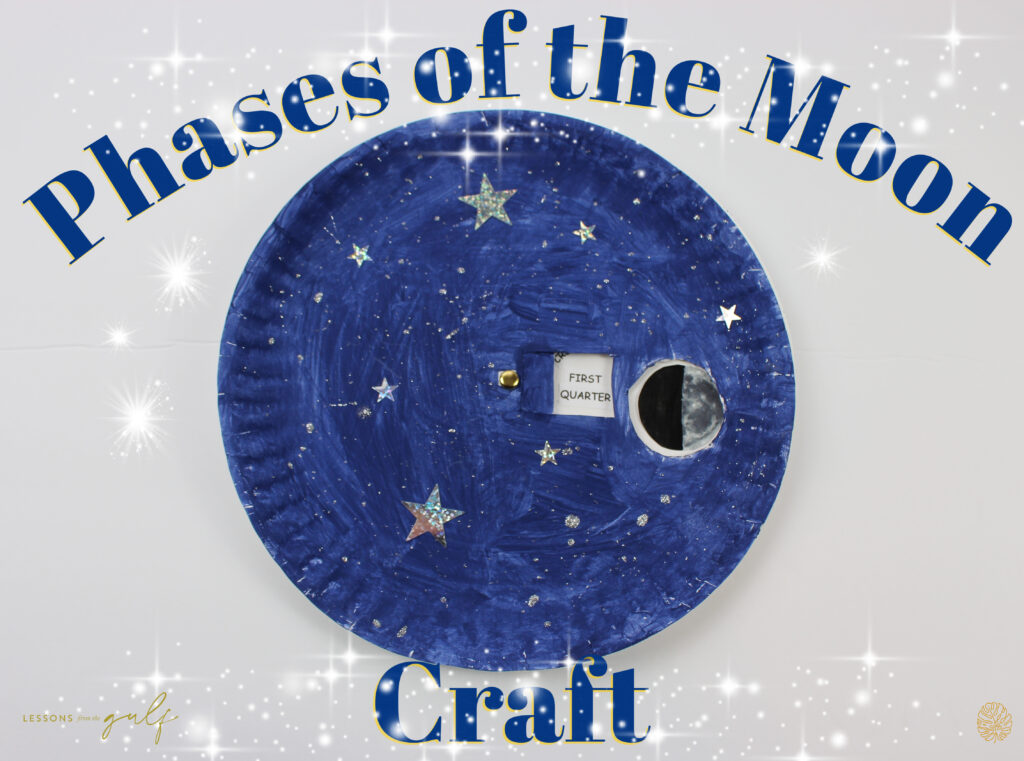
Phases of the Moon Craft
ASA,
Today I have for you a simple Phases of the Moon craft. This was a fun project to make with the kids. To make it even easier I have a free template with the names of the phases and the moons.
With Ramadan upon us I wanted to show my kids how we look for the new moon to start Ramadan. So I decided to make this craft to show them the different phases the moon passes through until it becomes a new moon again. Most of the supplies you probably already have in your home.
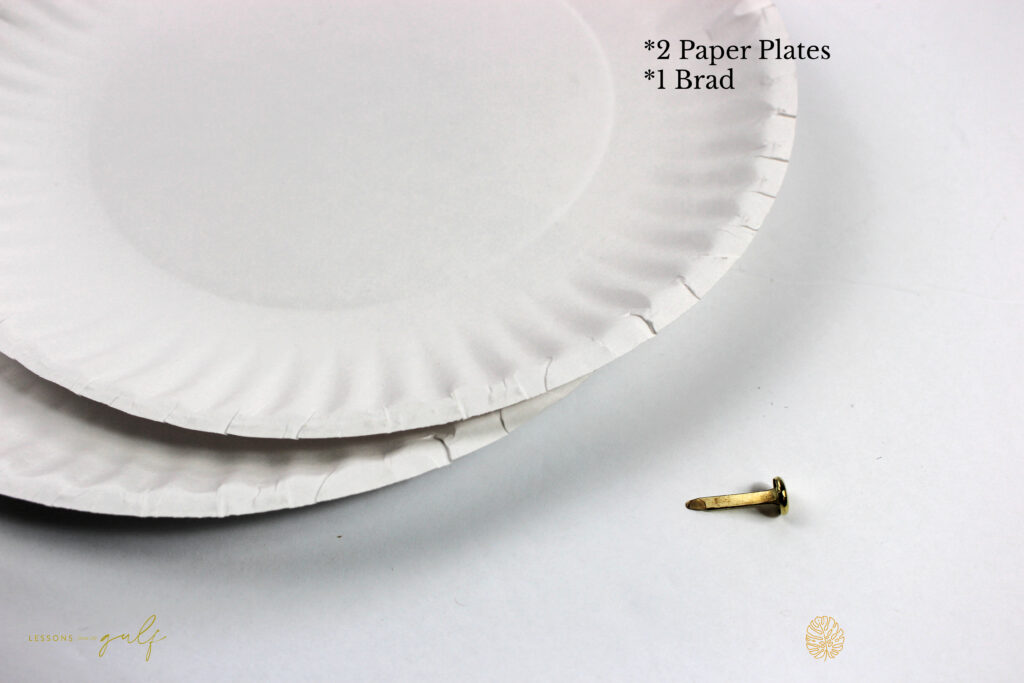
Supplies:
- 2 paper plates
- dark blue paint (for night sky)
- silver or gold paint (for sparkle)
- black paint(for the moons)
- moon stickers(if not painting)
- brad
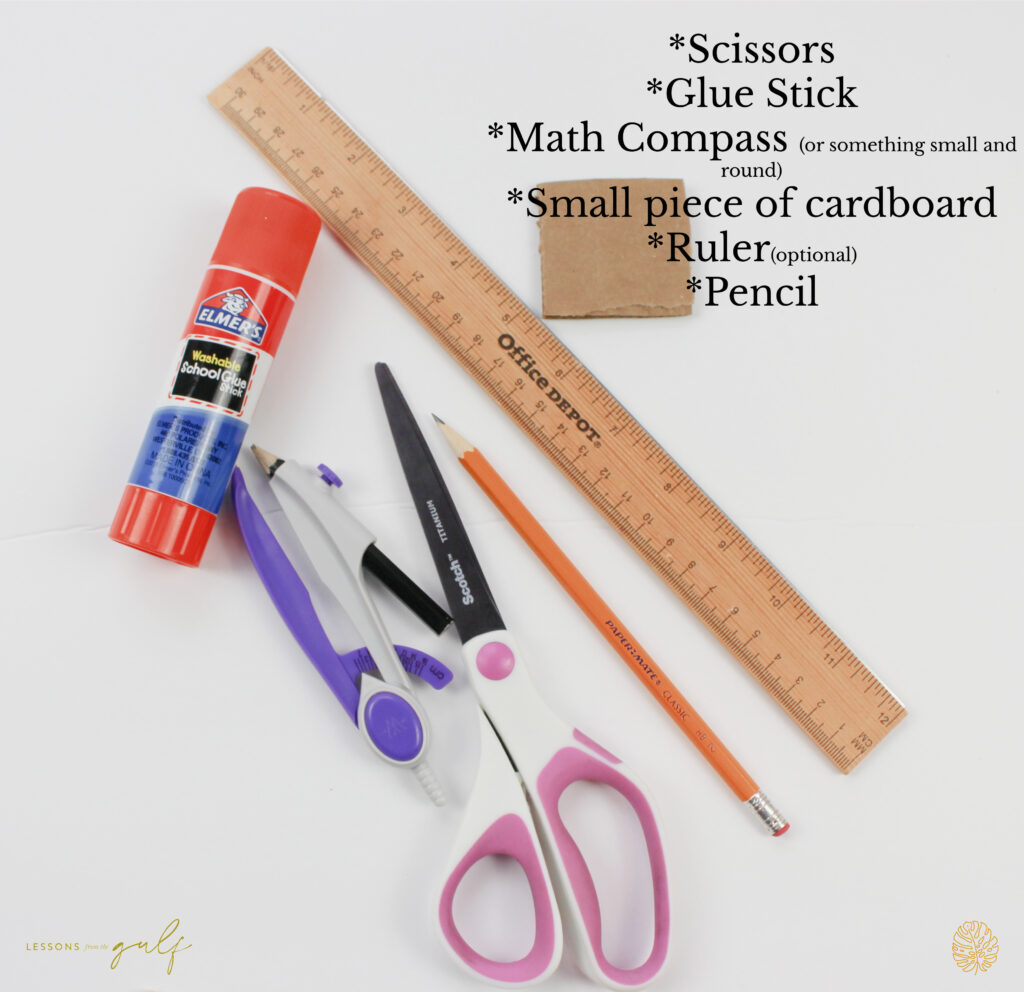
- math compass
- ruler
- glue stick
- scissors
- paint brushes
- small piece of cardboard
- pencil
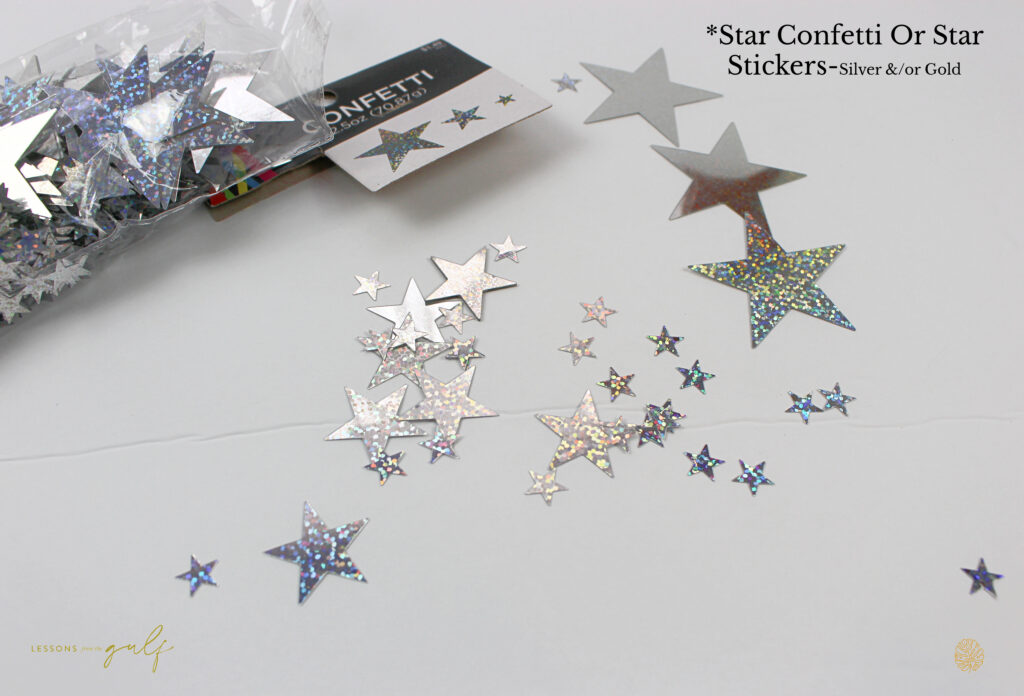
- star stickers
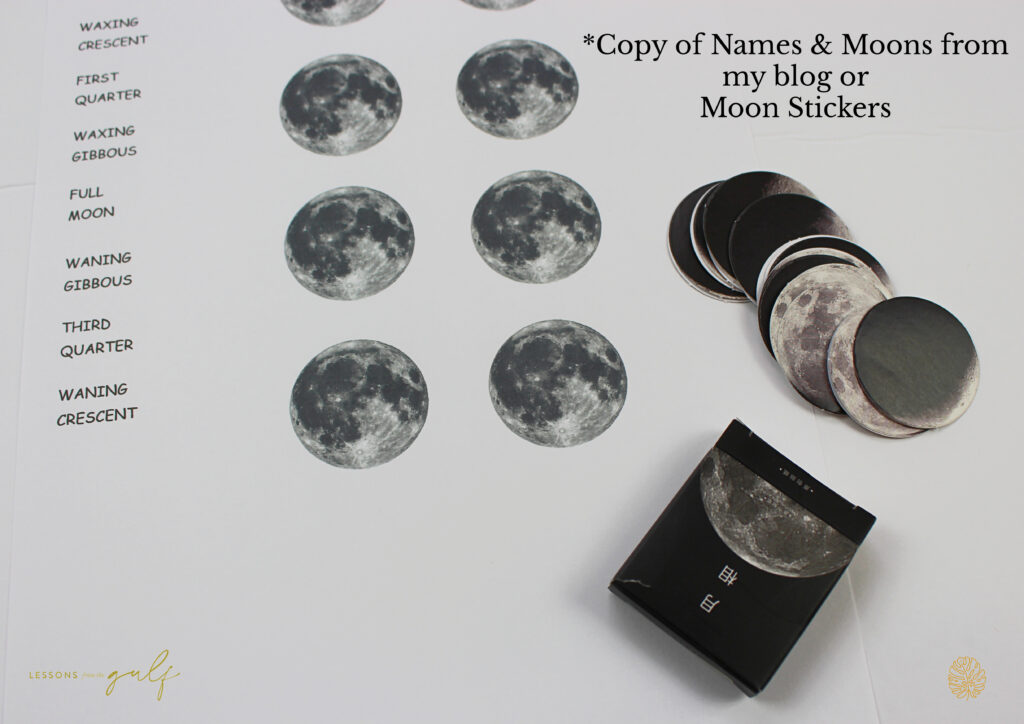
- sheet of names of moon phases & moons
Check out my Phases of the Moon Craft video here.

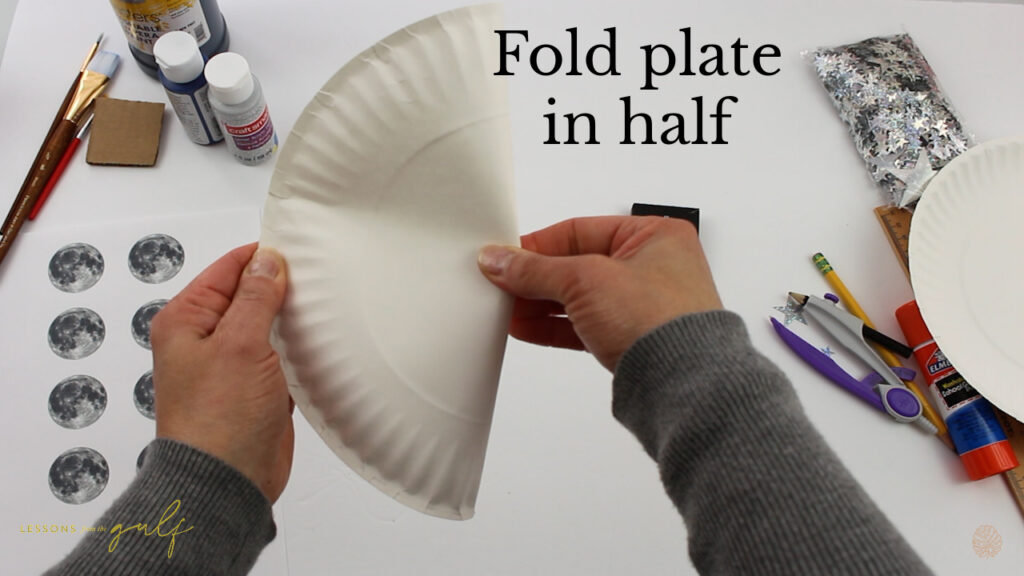
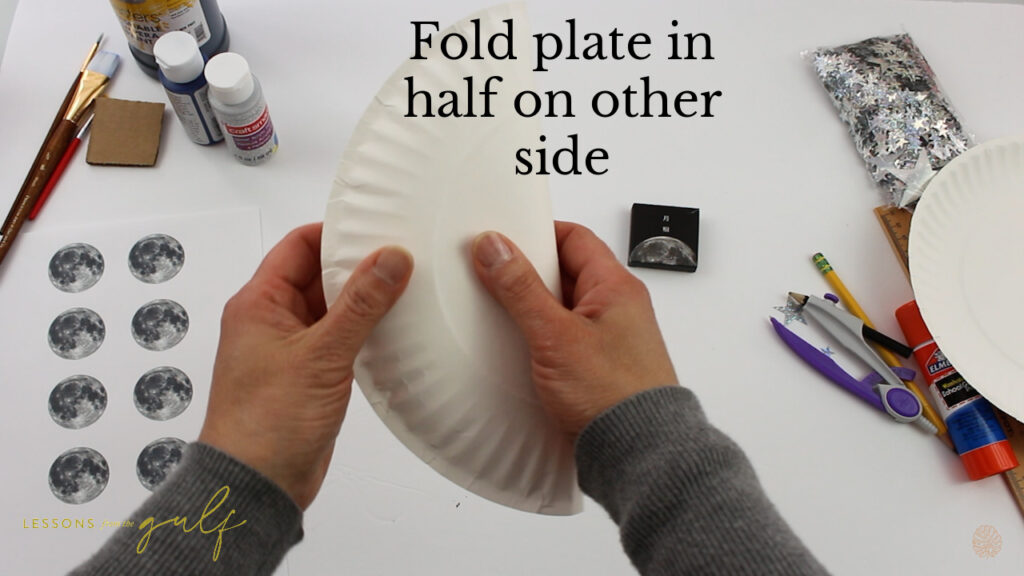
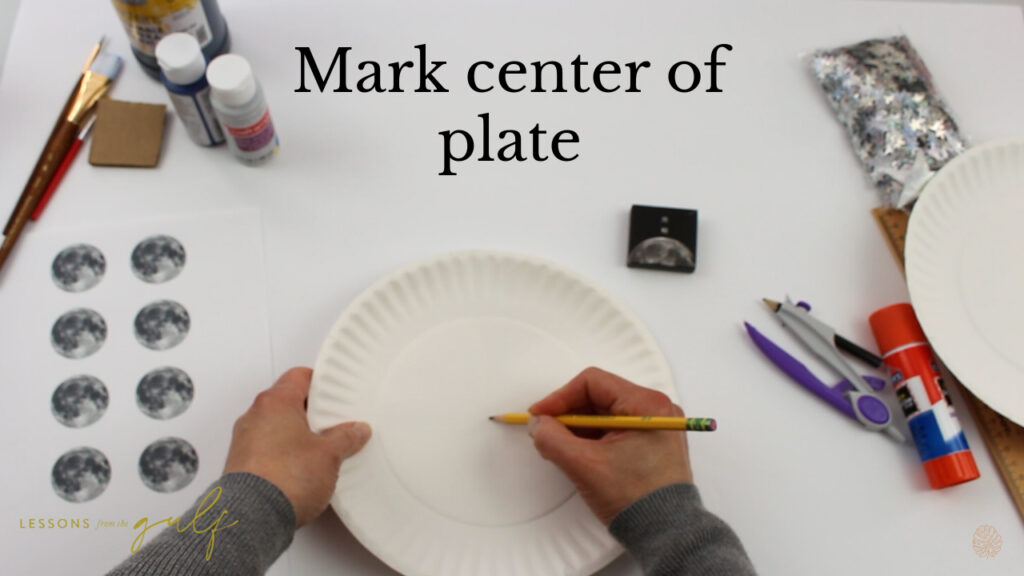
So the first thing you want to do is find the center of your circle and mark it with a pencil. I just simply fold it in half one way and then turn and fold it in half the other way. And mark the center of those two folds with a pencil.
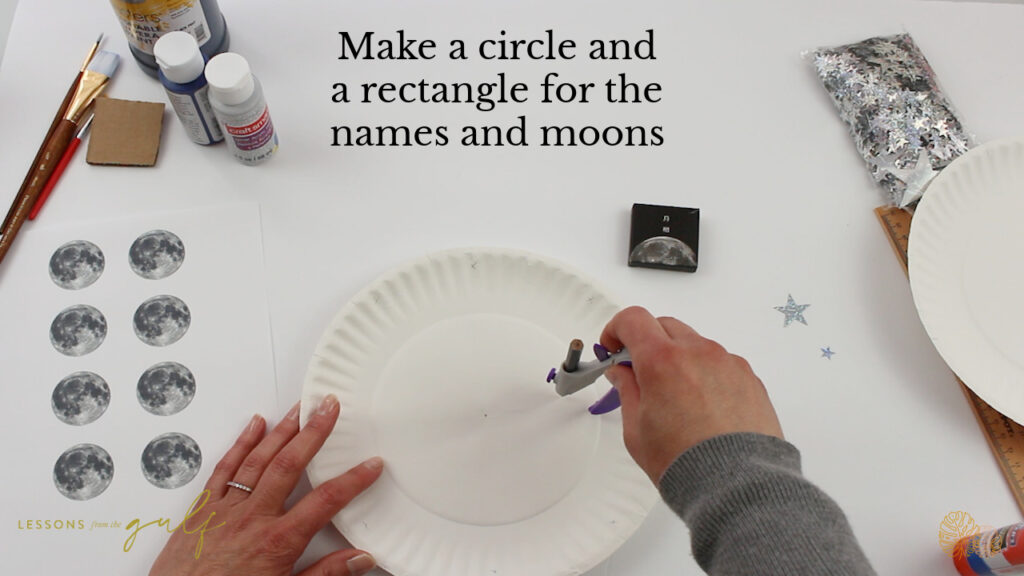
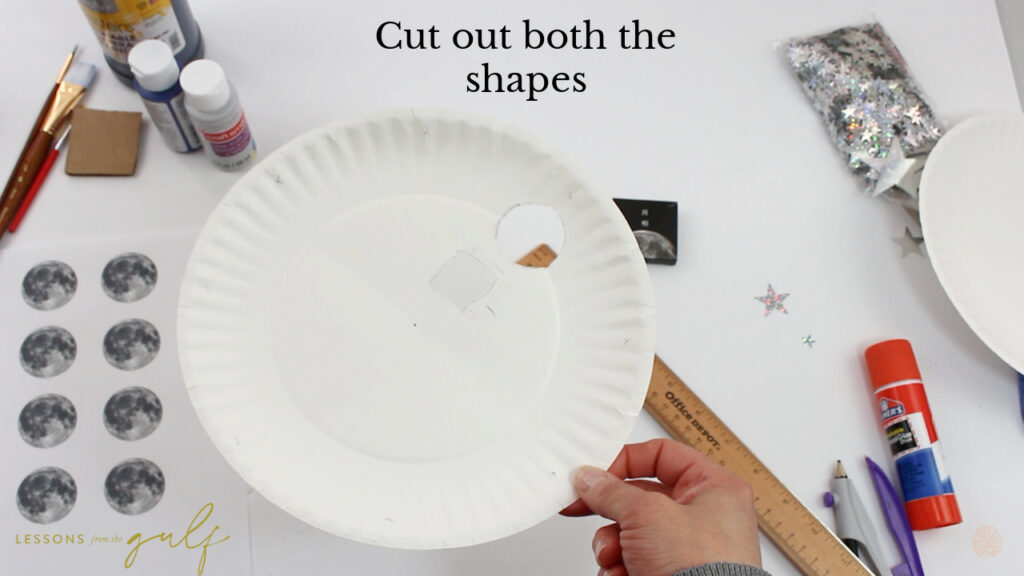
Next, you want to make a circle for the moons to show through and a rectangle for the names. You can use a math compass or something small and round the same size as the moon. And you can free hand the rectangle or use a ruler. Once that is done you can cut them both out.
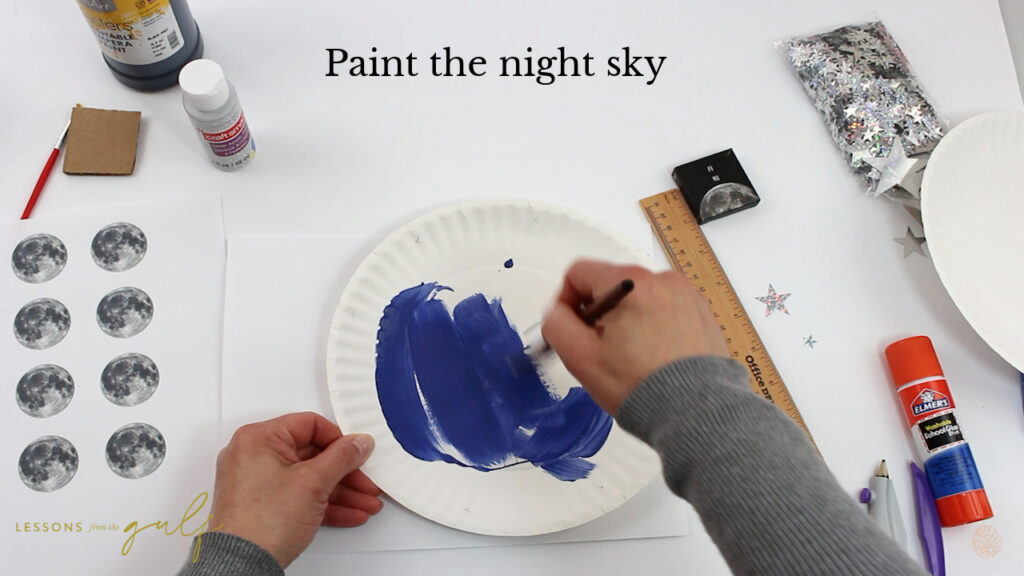
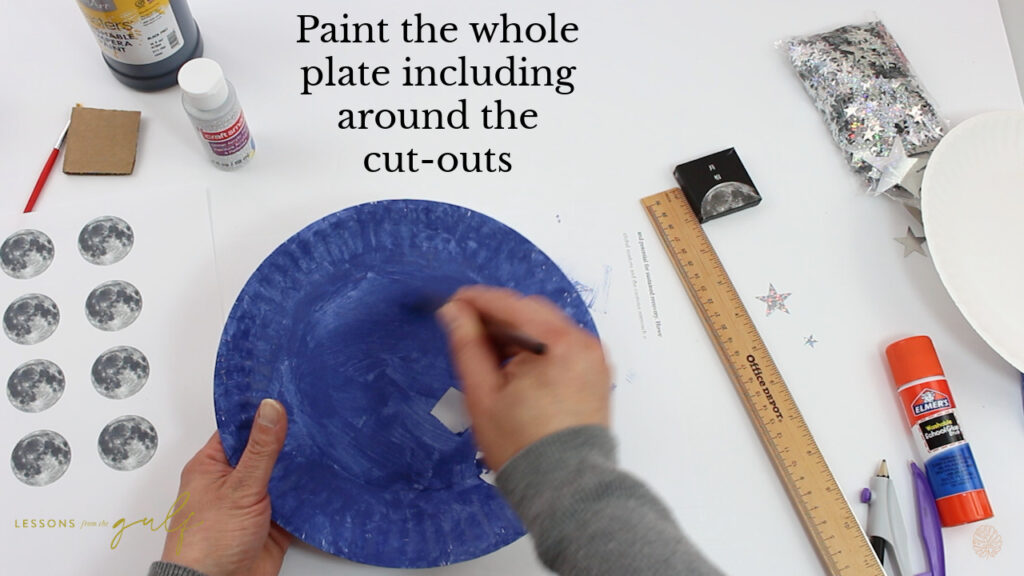
Next, you want to paint and set it to the side to dry.
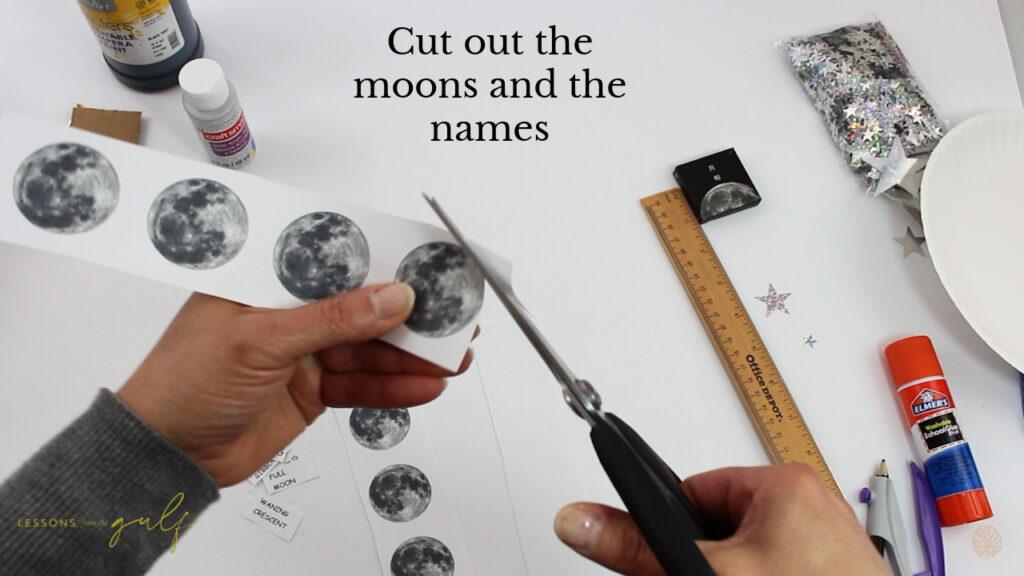
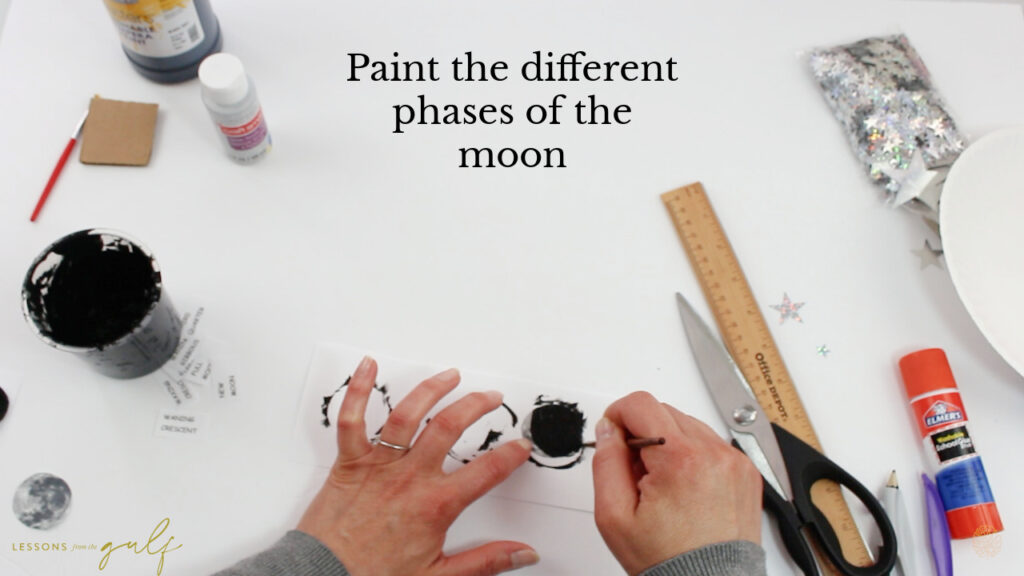
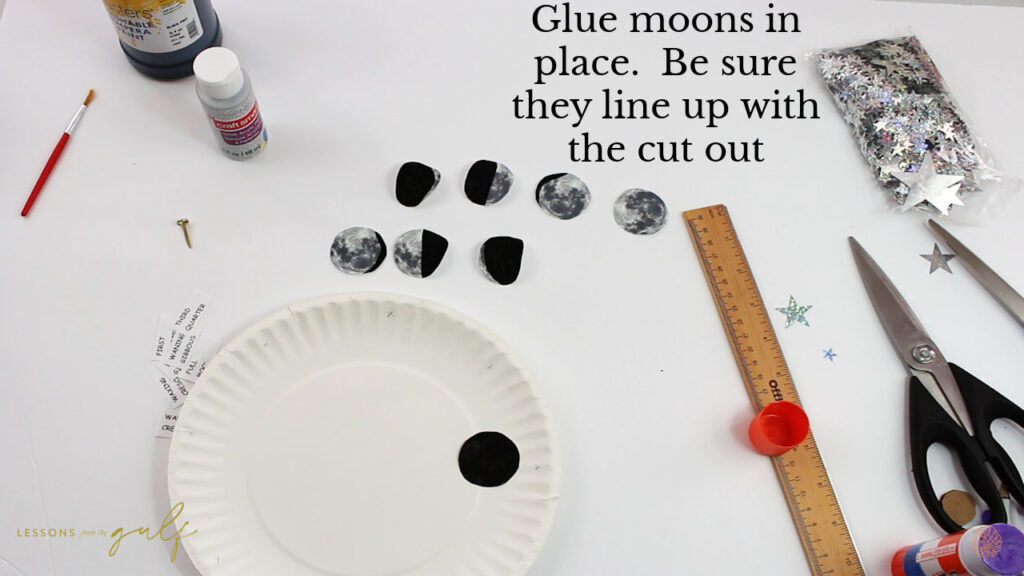
Next, cut out the moons and the names of the phases. Then paint the different phases.

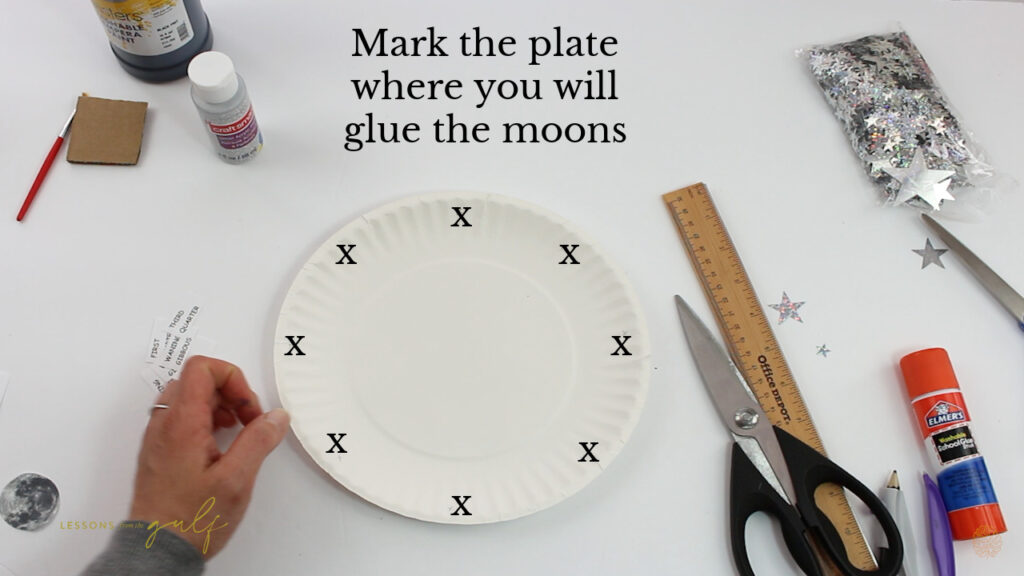
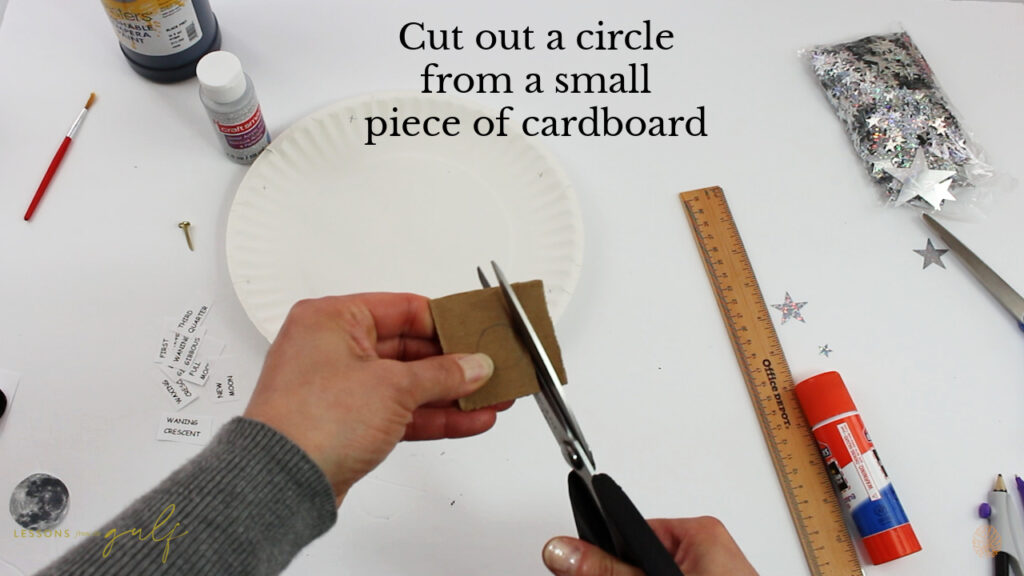
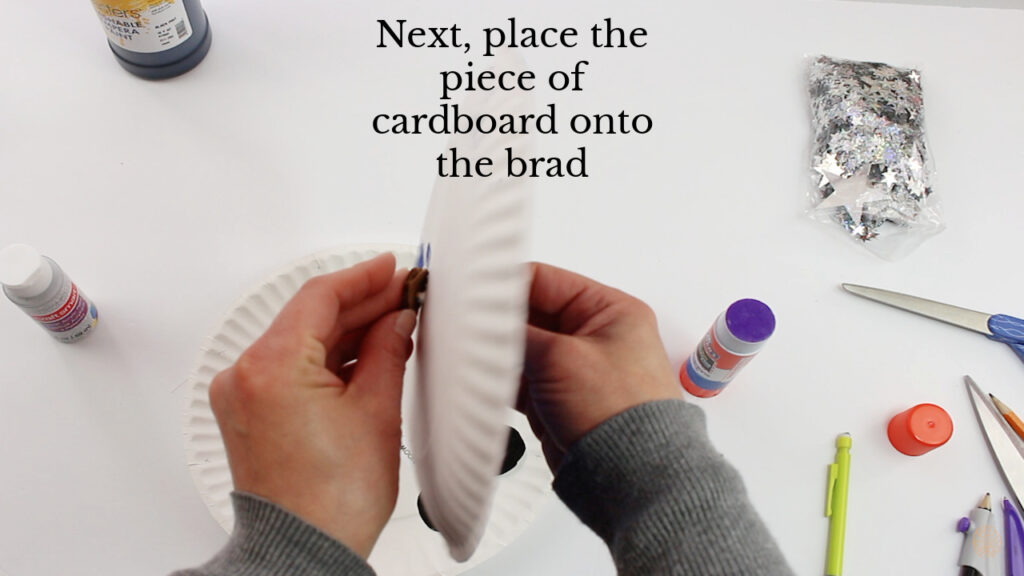
Place x’s on your plate where you will glue the moons. Like you are cutting a pizza. And cut a circle from the small piece of cardboard.
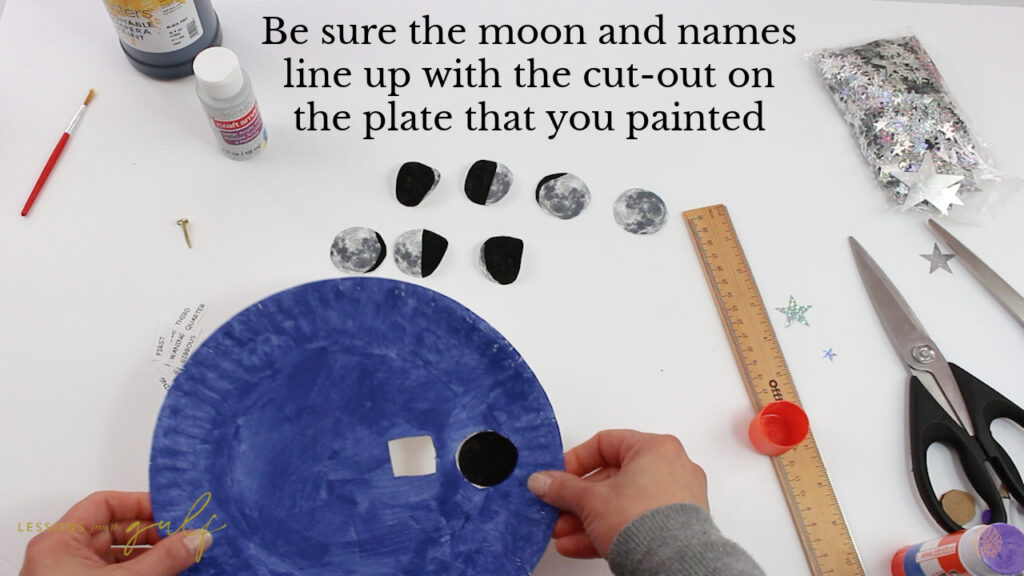
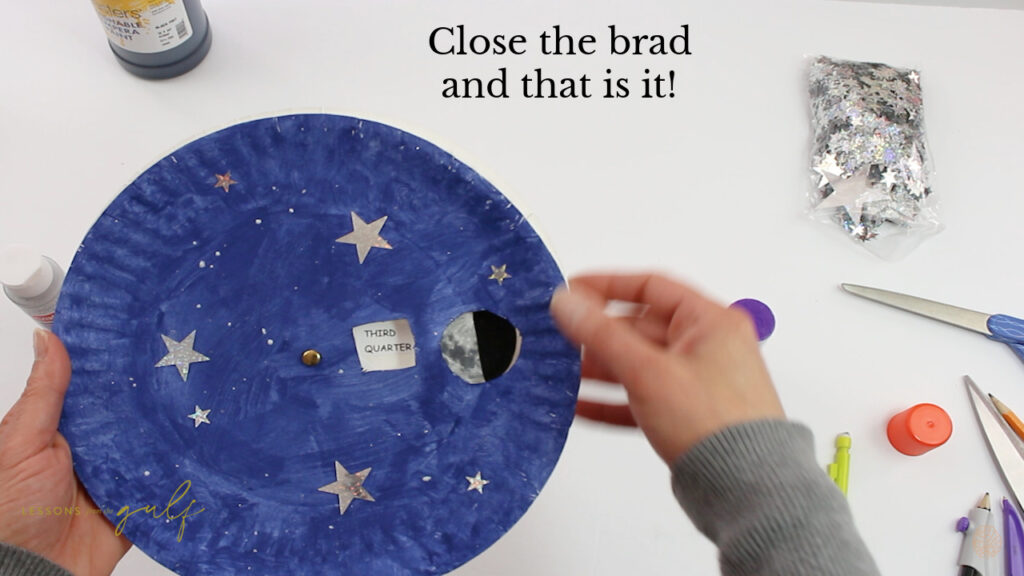
Next, glue your moons and phase names on the plate you marked with an X. Be sure they line up with the plate that you painted blue. I did that for each moon I glued. I just hovered the painted plate over the plate with the x’s to make sure it lined up with the cut out. See picture below.
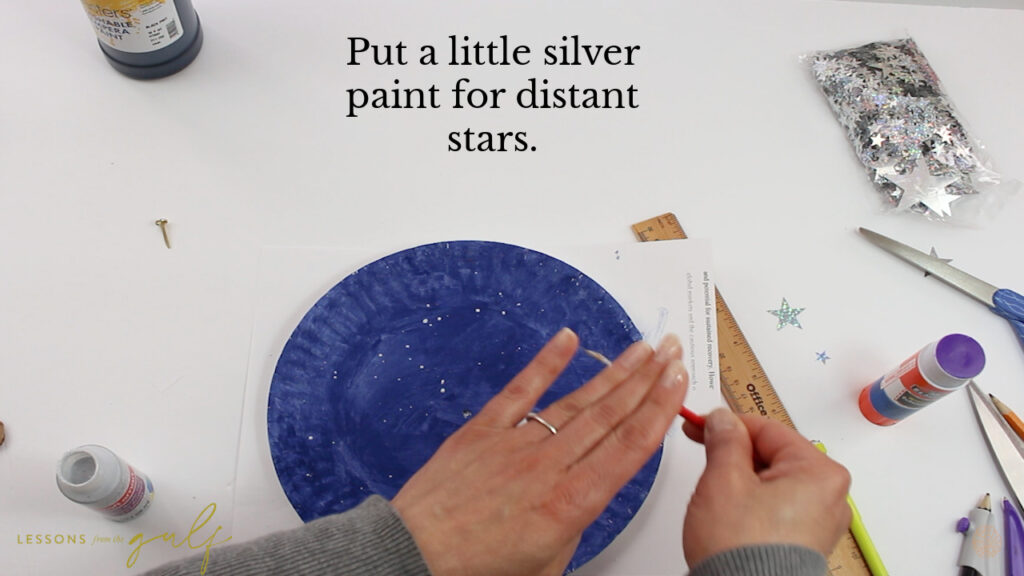
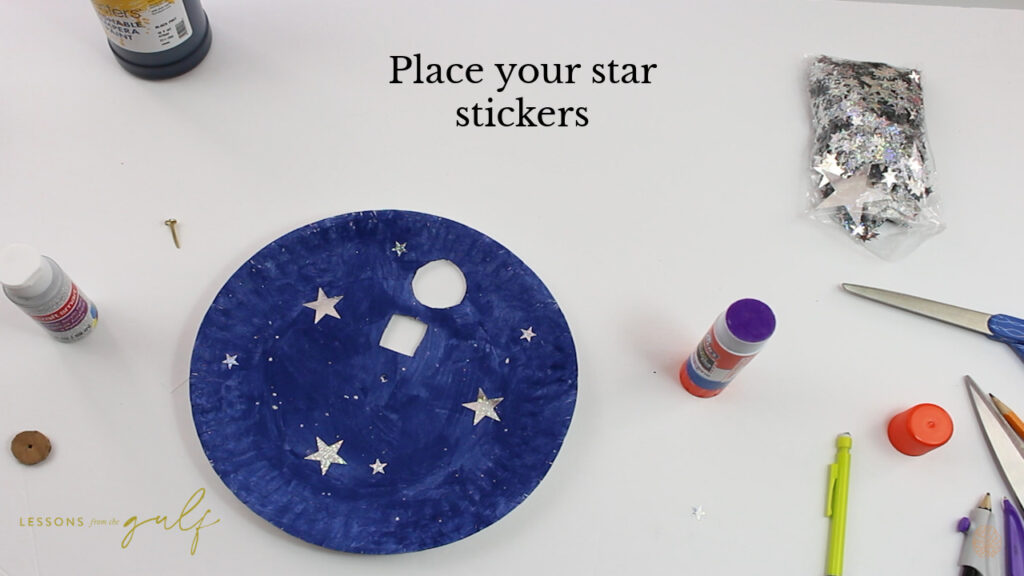
Sprinkle some silver paint by tapping your paintbrush around the plate. Then add your star stickers.
Time for assembly.
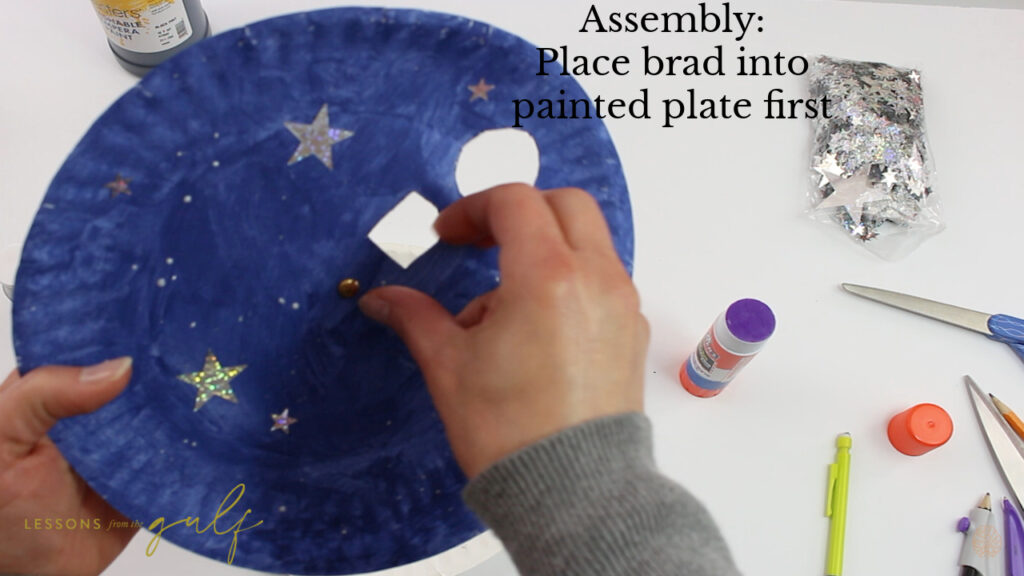
Check out my YouTube video to see a more detailed version of how I make this craft.
Hope you and kids enjoy this fun, little project!
Be sure to download the free Moons and names sheet.
